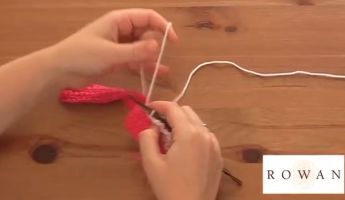
How to: sew on a button for a garment (shanked)
video by
Let's Knit Together
- Overview
- Practical Guides
You may well be used to sewing on buttons, but if you love to knit chunky garments, adding a shank to the button will help it to sit better over the buttonhole band.
Take 30cm or so of polyester thread, or the project yarn, but check that your yarn and sewing needle fit through your buttonhole with a few passes. If your yarn is too thick, you can split the strands, assuming it will still be strong enough. If you’re using thread, knot both ends together for a double strand. Insert the needle from back to front, where the centre of the button will be and leaving a good tail on the back for weaving in or knotting. Go up and down through the button, then back through the knitting, but not through the same hole. Don’t pull the yarn tight, until you’ve done this once more, then pull on the yarn so the button has just enough room for another layer of knitting – too dangly and it will not fasten securely or neatly. Repeat until you are ready to make the shank, which also protects the strands that secure the button from wear. Pass the needle up from the back, but not through the button. Wind it tightly under the button two or three times – again depending on the thickness of your yarn or thread – then on the next wrap, pass the needle through the loop under the button to make a tight knot. Repeat to add another knot, then take it back down through the fabric to the wrong side. Cut the yarn and knot or secure the tails on the wrong side. You can now either weave on the ends or snip close to the back of the fabric, if you feel it is secure enough. If you want to include a backing button for extra security, you’ll need to attach this at the same time as the main button. Choose one that is smaller and clear or in a colour matching the main yarn to make it less noticeable on the wrong side of the fabric. Pass the thread through both buttons on the same pass, and tie off between the wrong side of the fabric and the backing button.


