How to: work garter stitch
video by
Let's Knit Together
- Overview
- Practical Guides
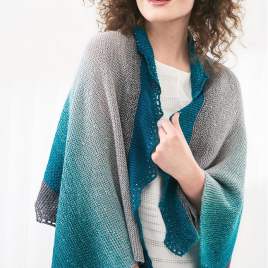
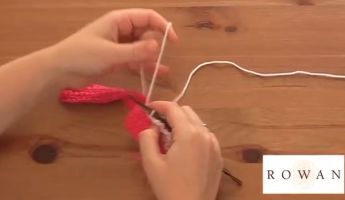
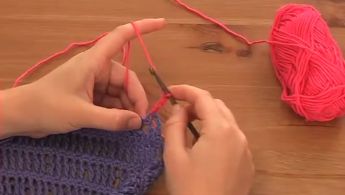
Once you can work in knit stitch you can do garter stitch! Every row is a knit row, which creates a distinctive, textured effect, and as this fabric is reversible, be sure to know which is the right side for making up.
A garter stitch border is often used as an edging as the cast-on edge lies flat, unlike with stocking stitch, which can curl up.
While you might expect that every row being knit stitches would create a smooth fabric of V stitches on both sides, it in fact has the opposite effect, with bumps on both sides, similar to the wrong side of stocking stitch. This produces a fabric that is more dense and therefore slightly stiffer than stocking stitch, which is not only great for warmer woollies, but useful for adding structure to edges. This is also the reason, however, why the reverse side of stocking stitch is mainly used within a pattern when this lovely texture is wanted on the right side. This would have the same tension as stocking stitch, whereas garter stitch is likely to have a different drape and slightly different row spacing overall. Being a thicker fabric, it also uses more yarn, so stocking stitch is more economical with yarn. See the differences for yourself, by casting on just ten stitches, knitting six rows in garter stitch, then changing to stocking stitch for the same number of rows, and then purl stitch for every row.


