How to: increase a purl stitch (m1p)
video by
Let's Knit Together
- Overview
- Practical Guides
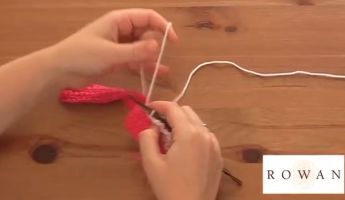
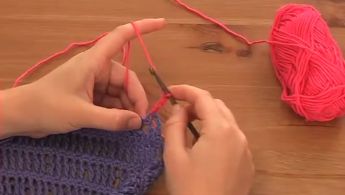
Increase a stitch on the purl side of your knitting by picking up the horizontal loop between stitches and purl into the back of it for a left-leaning increase on the right side.
If you find it tricky to insert your right-hand needle through the stitch from the back, try and slightly different angle and take your time.
This is an easy increasing stitch between purl stitches, that can be used in all sorts of patterns. M1p isn’t as noticeable as working into the front and back of a stitch because it doesn’t create a bar under the new stitch on the right side, yet it still adds an extra stitch to shape your item. To work this increase on a purl row, pick up the horizontal bar before the next stitch with your left-hand needle by inserting from front to back. Next, insert the right-hand needle from back to front from the far side of this new loop, so that your right-hand needle comes up through this stitch. Now this fiddly part is over, purl as usual by wrapping the yarn anticlockwise around the tip of the right-hand needle and lift off the new stitch. You’ll see the bump of the new purl stitch underneath it on this side. When you come to turn this row and knit back along it, you’ll simply knit the new stitch as usual. Patterns may use a variety of different increase and decrease stitches, so be sure to use the right one to match the pattern exactly.


