How to: work a left twist stitch
video by
Let's Knit Together
- Overview
- Practical Guides
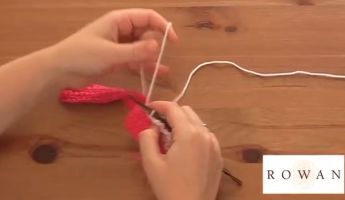
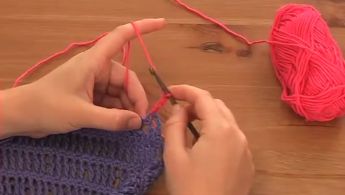
There are lots of different twist stitches, usually worked over against a contrast background, and often as a column of stitches for extra effect. Here, we’re creating a left twist, without a cable needle.
Always check your pattern for any explanation of a twist, as it may have more than one name.
In a deliberate twist, the order of the stitches is swapped and the result is a noticeable change in the look of the stitches, creating an eye-catching feature as part of the pattern that it stands off the background. Here, we are going to look at twisting two knit stitches against a purl background, so the right side of the fabric is the purl side, and the wrong side is the knit side. On the right side, purl up to the knit stitches, then move the yarn to the back between the needle tips ready for the knit stitches. Start with a second knit stitch and insert the RH needle at the back (rather than underneath), and into the back of the stitch below the LH needle. Wrap your yarn as usual for a knit stitch and pull through the loop but leave the stitch on the left-hand needle. Next, knit the first stitch, then lift both knitted stitches off the LH needle. You have created a left twist by working into the back of the stitch, and now return to the purl section of your pattern. This type of pattern may be shown as a chart, in which case, study it carefully to be clear about when to knit and purl stitches on the right or wrong side. This variation may be called a front twist, perhaps as the first stitch is twisted across the front of the second, but always follow the pattern-specific instructions. Some twist stitches also use a cable needle, so for an idea of what it is like to use one, take a look at our cable needle tutorials for guidance.


